Everything you need to know to set up your stream in OBS Studio.
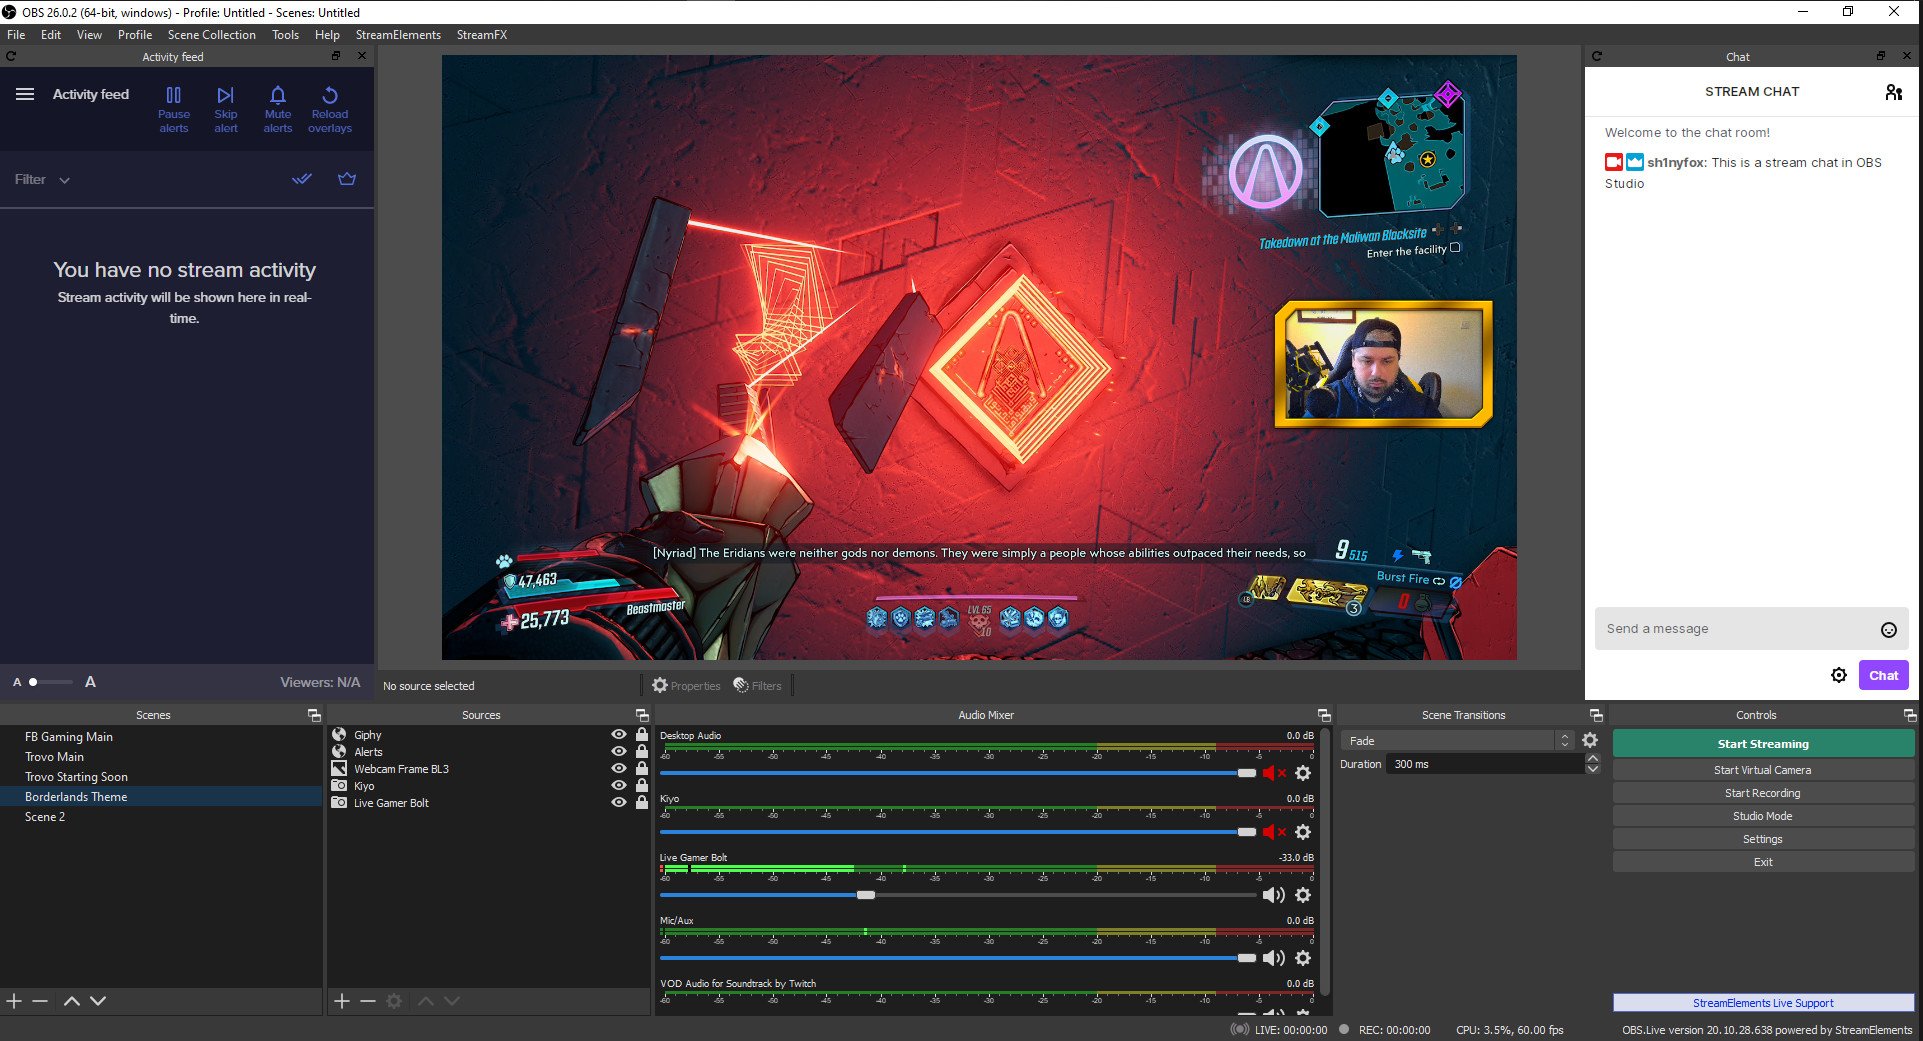
If you want to get the absolute best quality broadcast, you're probably looking for some great software. In the case of Windows, one of the most popular choices is Open Broadcaster Software (OBS). Many people are initially attracted to OBS because it's free to use thanks to being open source (though you can and definitely should donate to the project if you enjoy using it). Luckily it's also a feature-rich piece of software that can handle almost anything you throw at it. If you're new to OBS or to streaming in general, it can be a little daunting at first. Here, I'll show you how the basics and how to get your stream up and running using OBS.
How to set up your stream key on OBS
Before you stream anything anywhere, you need to give OBS the credentials to broadcast on your channel. Exactly how you do this on the wide range of services OBS supports will vary, but I'm covering Twitch for this guide.
In all cases, you need to either generate a stream key in your account settings on the relevant service or connect your account to OBS if it's supported as it is on Twitch. Simply logging in with your credentials is by far the easiest way, and OBS uses OAuth, so you're not passing any of your personal login information directly to it.
If you'd rather use a stream key, follow these steps.
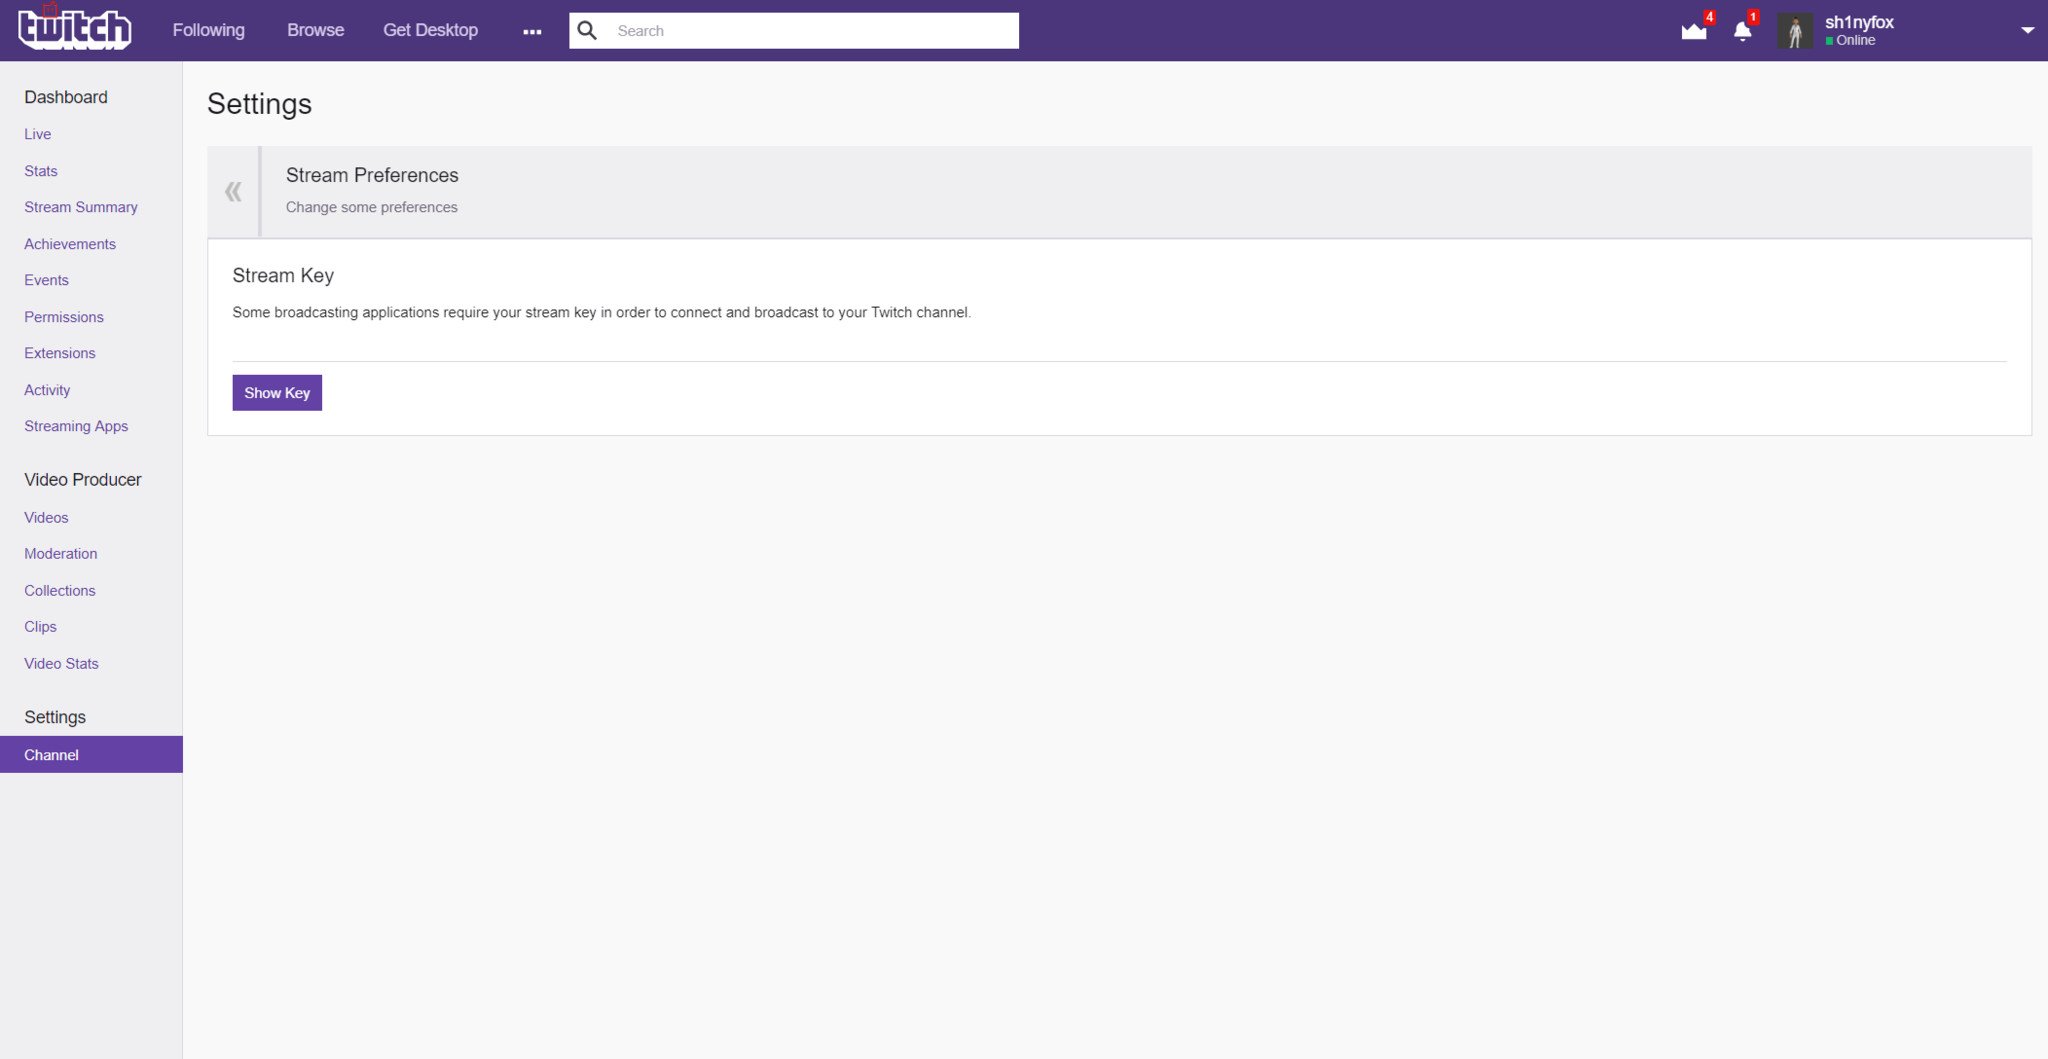
- Login to your account at twitch.tv
- Click on your avatar in the top right.
- Click dashboard.
- In the menu on the left, click channel under the settings header.
- Click the stream key button.
- Click show stream key.
- Copy the text.
Whichever service you're streaming to, you now need to enter the stream key into OBS. This portion will be relevant to any service you're broadcasting to that doesn't have a direct connection to OBS like Twitch does.
- Click settings in the main window.
- Select the stream tab from the menu.
-
In the service drop-down box, choose Twitch.

-
Paste your stream key into the box labelled as such.
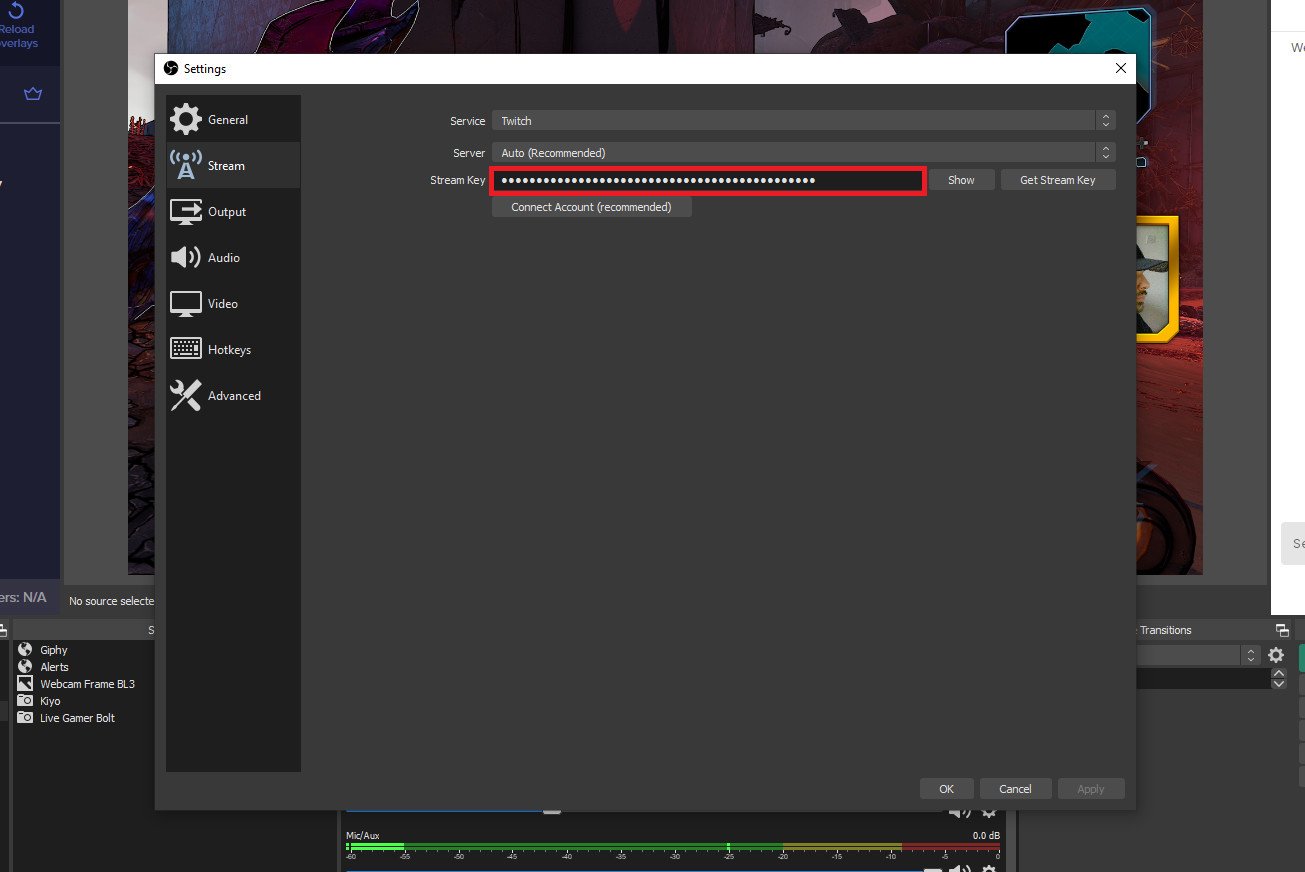
- Click apply.
OBS is now configured to stream to your channel! Never give your stream key to someone else, as it gives them the ability to broadcast anything using your channel. If you think someone may have got it, go into your account settings and regenerate a new one.
How to set up output resolution and bitrate in OBS
Now that you're set up to stream, the first step is to set your resolution, frame rate, and bitrate. The higher each of these, the more bandwidth and horsepower you'll need from your PC. Unlike XSplit, OBS doesn't have a built-in bandwidth checker, so you'll have to do some playing around to get the best settings for you.
If you've got a high-speed internet connection and a powerful PC, then you can probably stream at 1080p60 at a high bitrate. But, you also need to balance this with providing a stream that's not going to buffer like mad for your viewers who might be on slower connections.
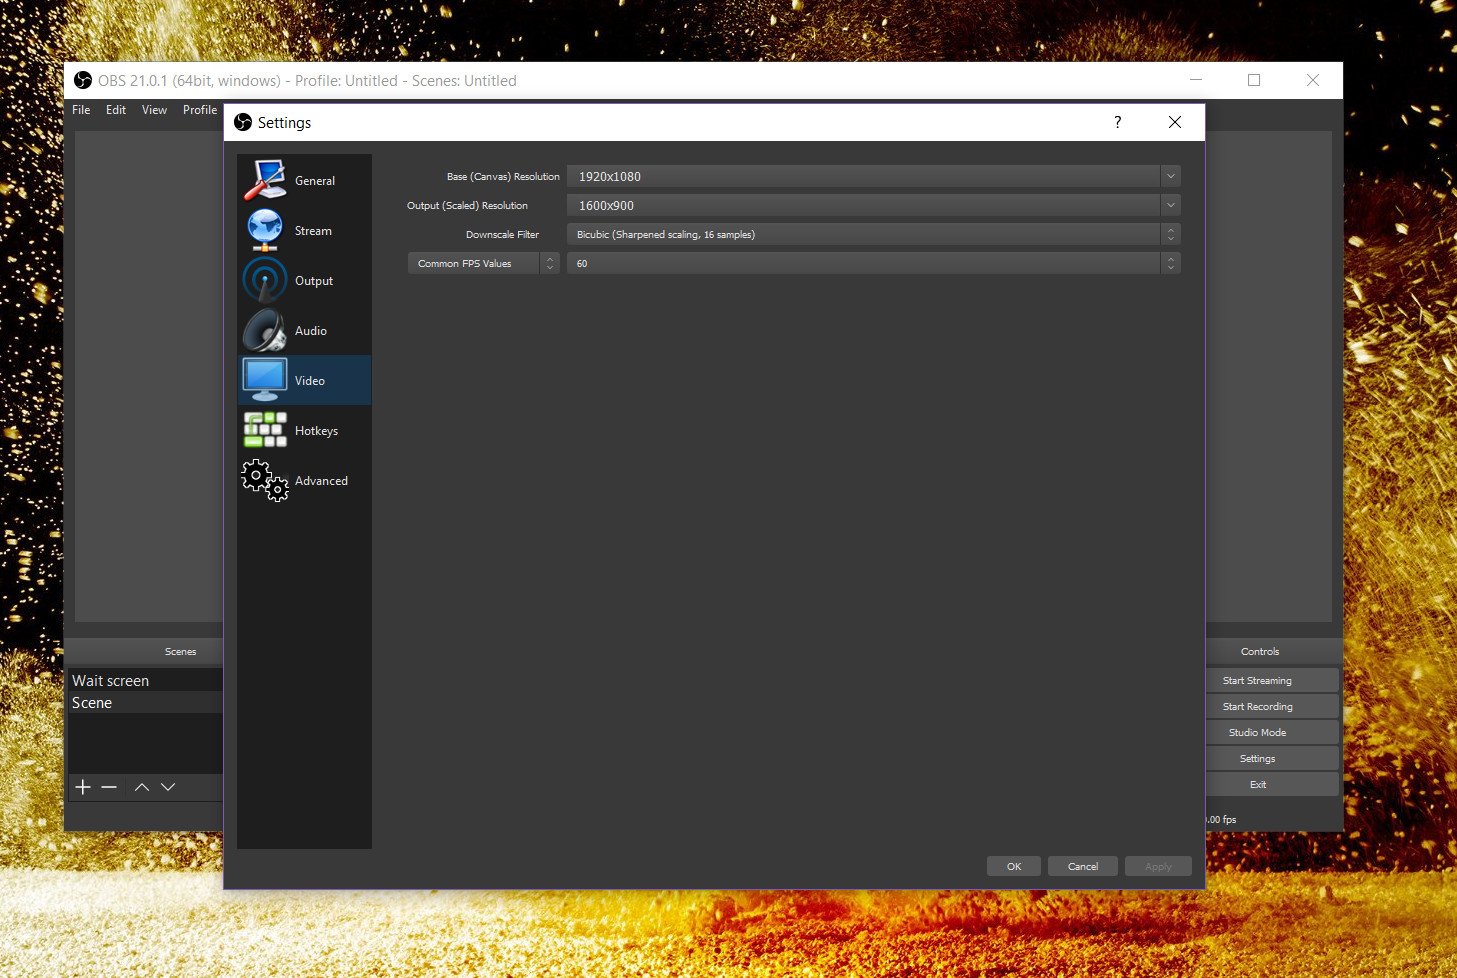
Here's how to adjust the settings in OBS.
- Click settings in the main window.
- Select the video tab from the menu.
- Change the boxes for base and output resolution as well as frame rate to your desired levels.
-
Next, click on the output tab in the menu.
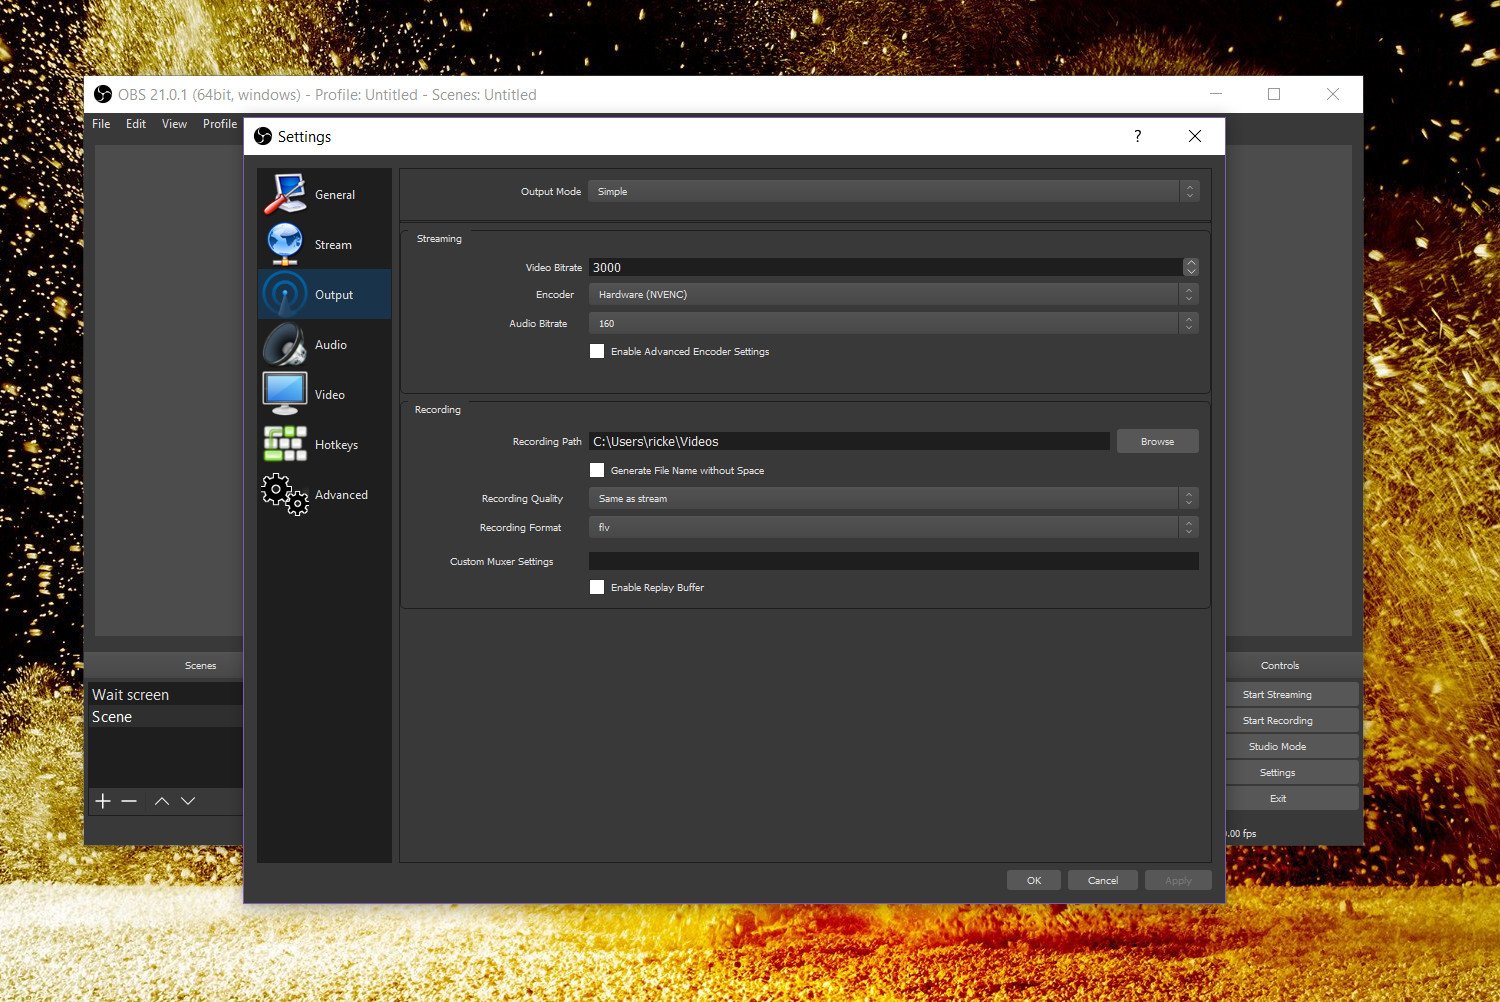
- Adjust the video bitrate box to your desired level.
- Choose the encoder you want to use from the drop-down box. You'll have options that can use the CPU or your GPU.
Twitch has a handy resource on the sort of bitrates you should be using depending on your output, so it's worth reading up and balancing these figures against the upload speed from your internet provider.
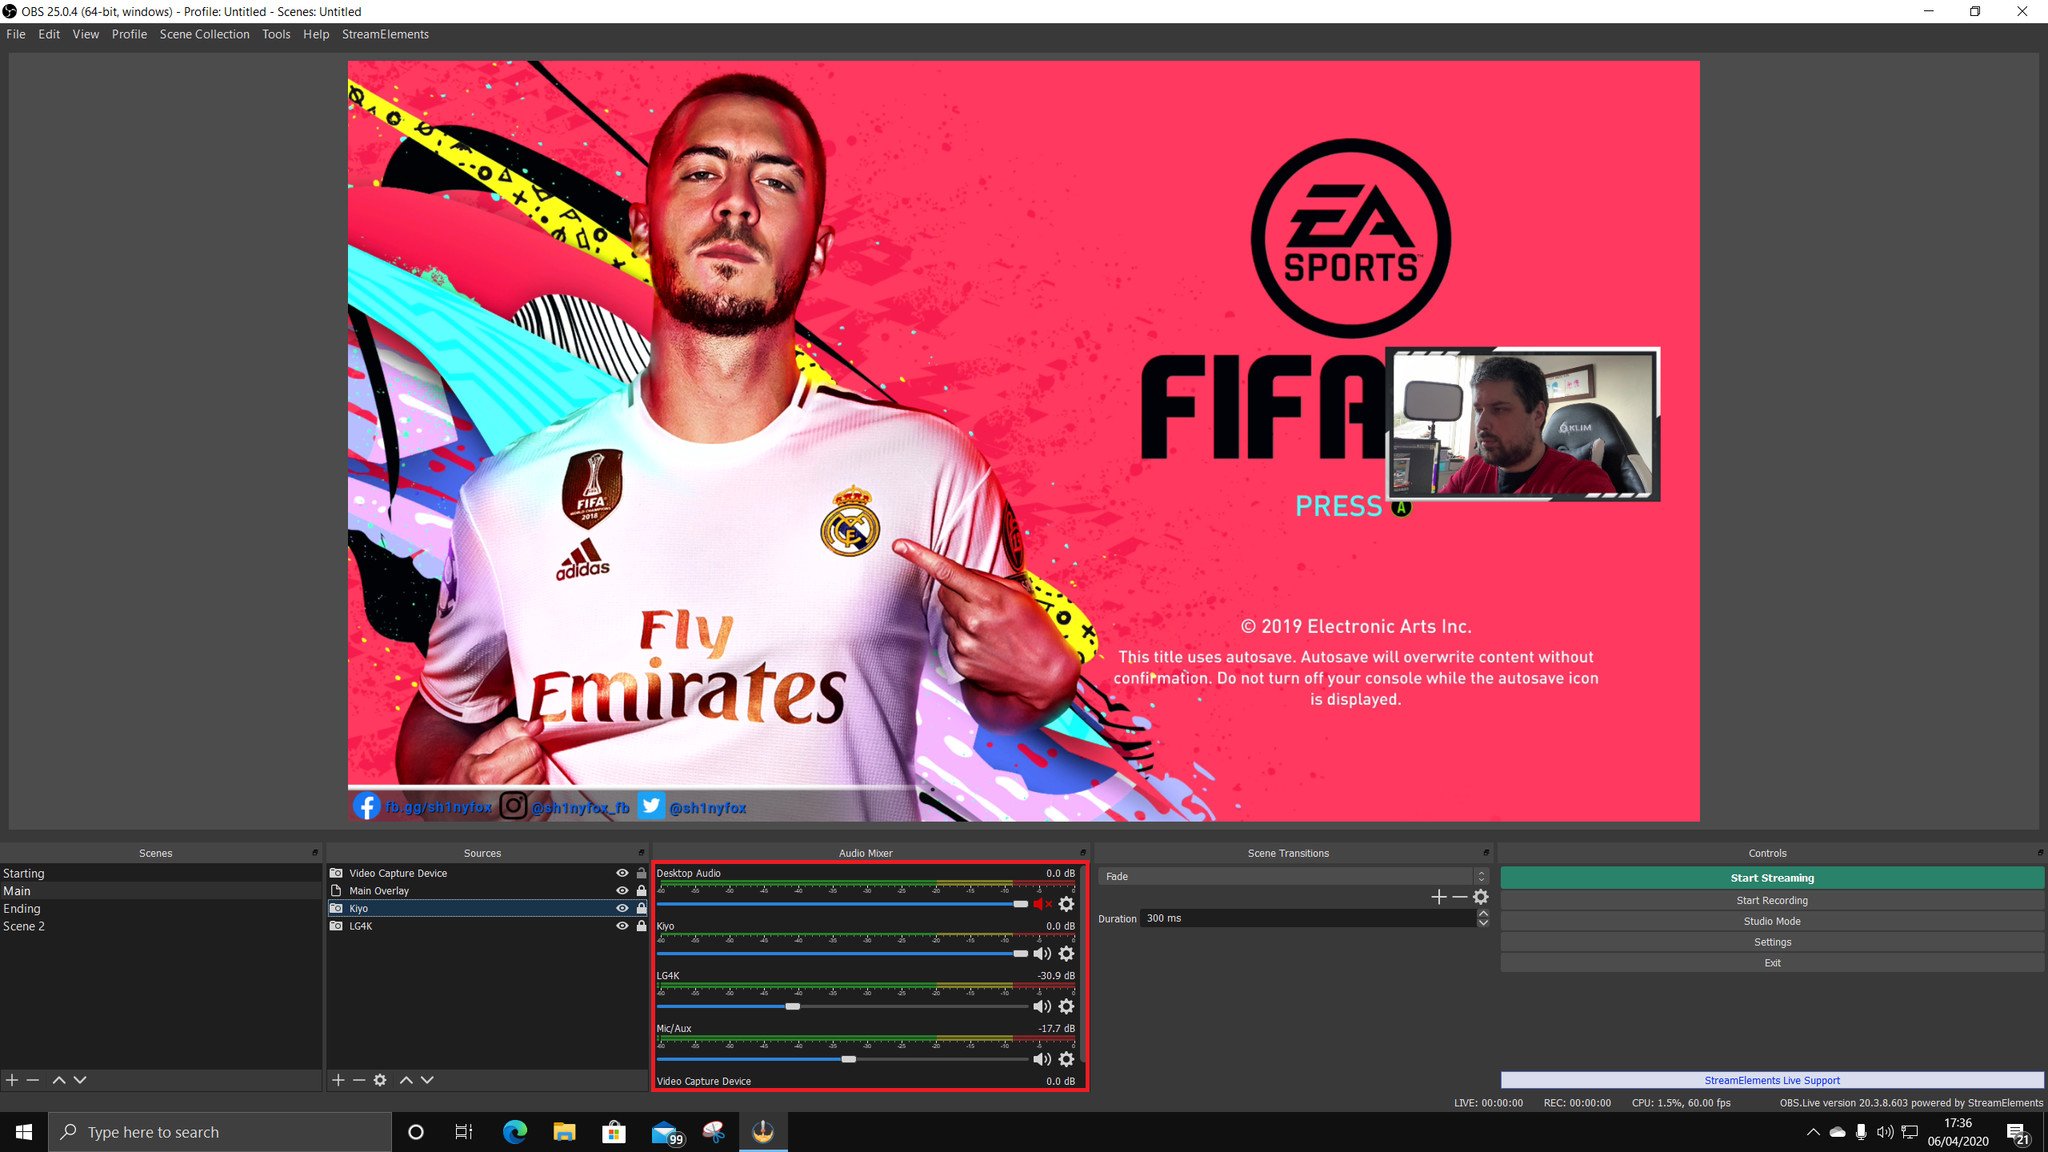
How to set up audio devices in OBS
With your video output now set up, it's time to turn to audio. Without great audio, your stream will be a disaster, so it's essential to get things right. If you have multiple audio devices that you want to connect, I recommend using something like Voicemeeter Banana to manage things because it's powerful and, once you've got over the initial learning curve, really easy to use.
Whatever you're using, here's how to set your audio up in OBS.
- Click settings in the main window.
- Select the audio tab from the menu.
There are now several boxes for you to indicate to the software what your desktop audio devices are (speakers, headphones, etc.) and your microphone or other auxiliary devices. You also have options to enable push to talk or push to mute for any hardware audio device connected to your PC.
I prefer using Voicemeeter over a setup like this because it's easier to manage on the fly, and you only need to set up a single audio device in OBS. In this case, you set the microphone to your Voicemeeter output and disable everything else.
Levels can be managed from the mixer in the main OBS window. If you're using a console, it's important to remember that the audio for this will be a source of its own (even if you're using Voicemeeter), and you'll have to manage it within OBS. Pro tip: Turn it down; it'll be way too loud at default settings.
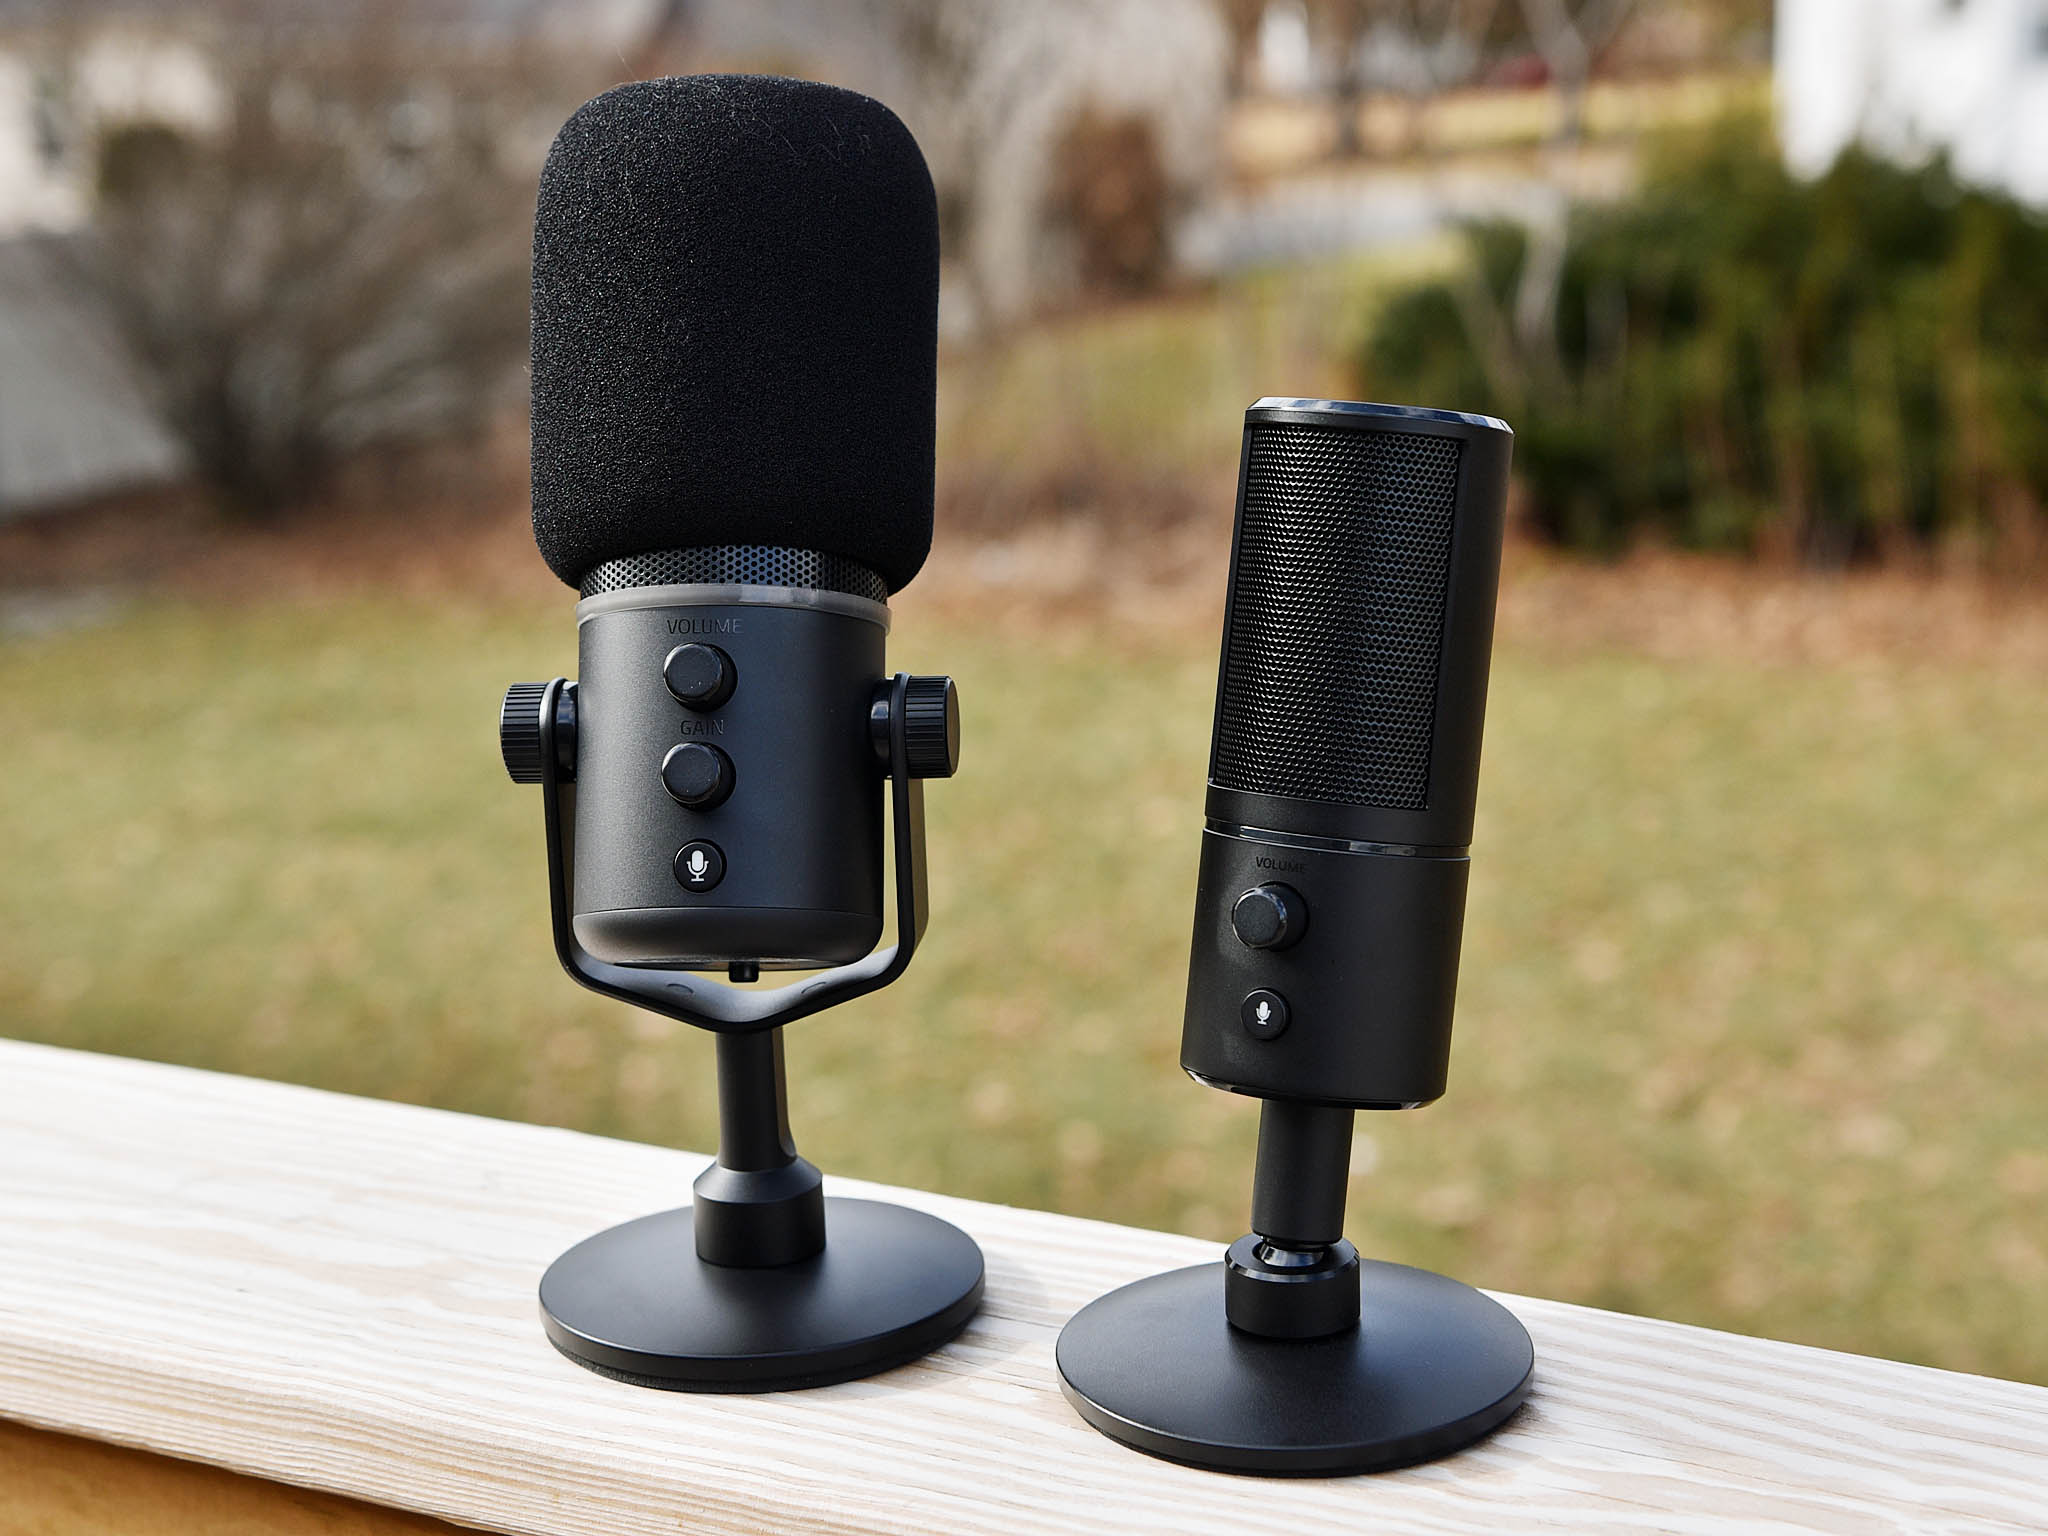
Razer Seiren X
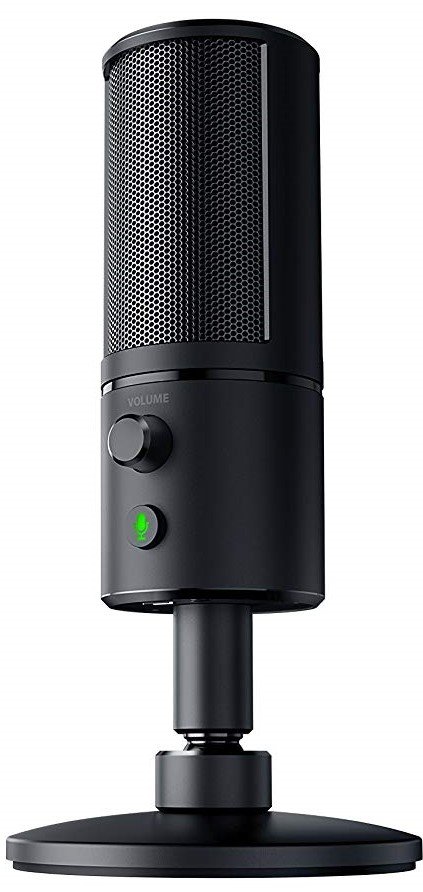
The Seiren X is an excellent microphone for streamers. It's affordable, sounds good, isn't very big, and has a shock mount inside it, so you get vibration-damping whether on a boom arm or the desktop stand.
How to add capture cards and webcams to OBS
If you're streaming console games, then you'll need to add your capture card as a source in OBS. Whether you're streaming console or PC, you'll probably also want to add a webcam, so your viewers can see your beautiful face while you play.
The good news is that both devices are added to OBS in the same way. Here's how.
-
Click the + button in the sources box in the main window.
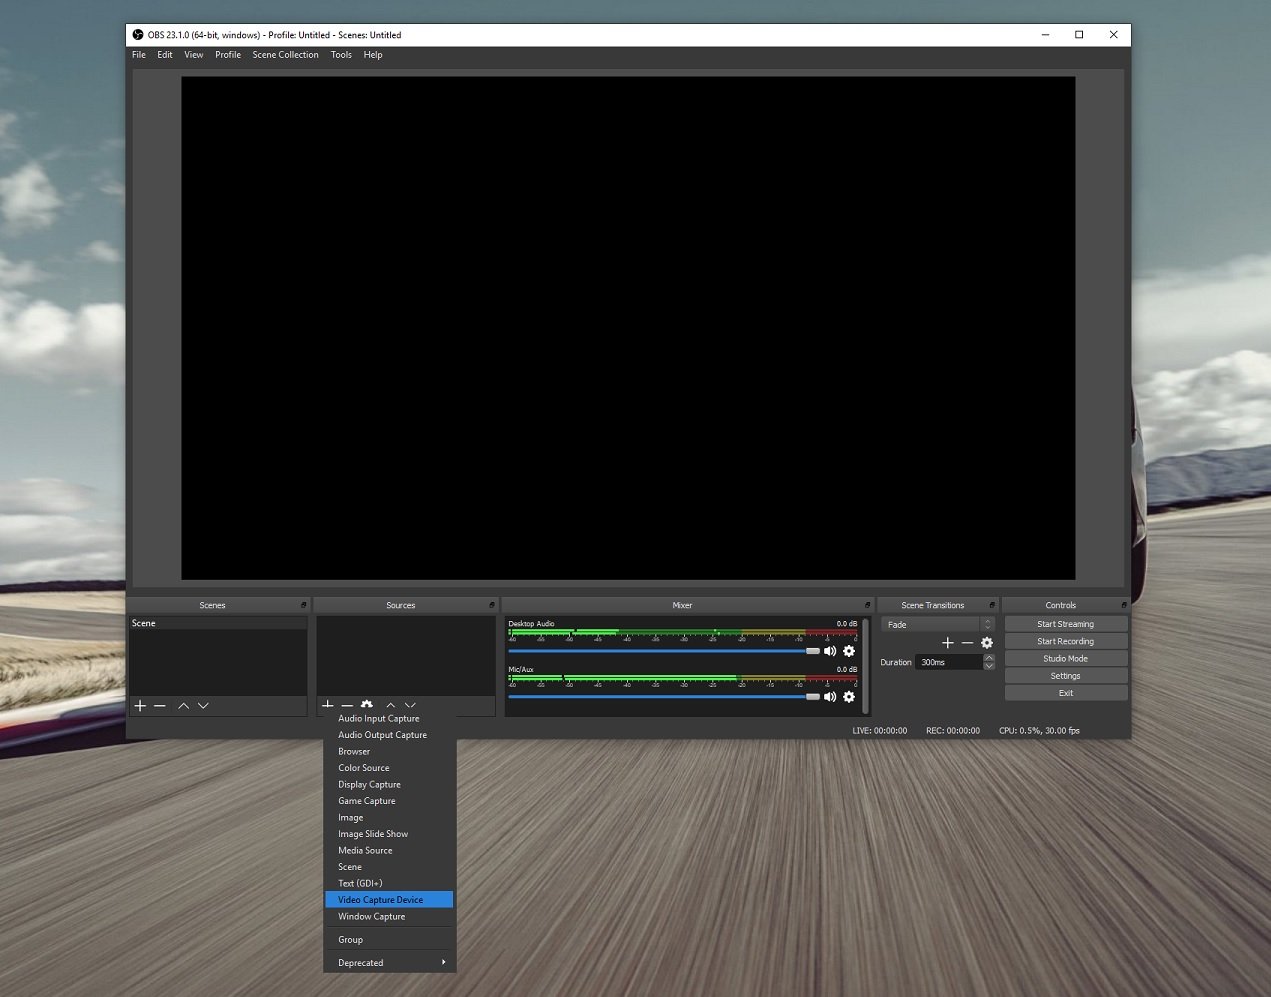
- Select video capture device.
-
Name it (if you wish) so it's easier to identify in your sources list.
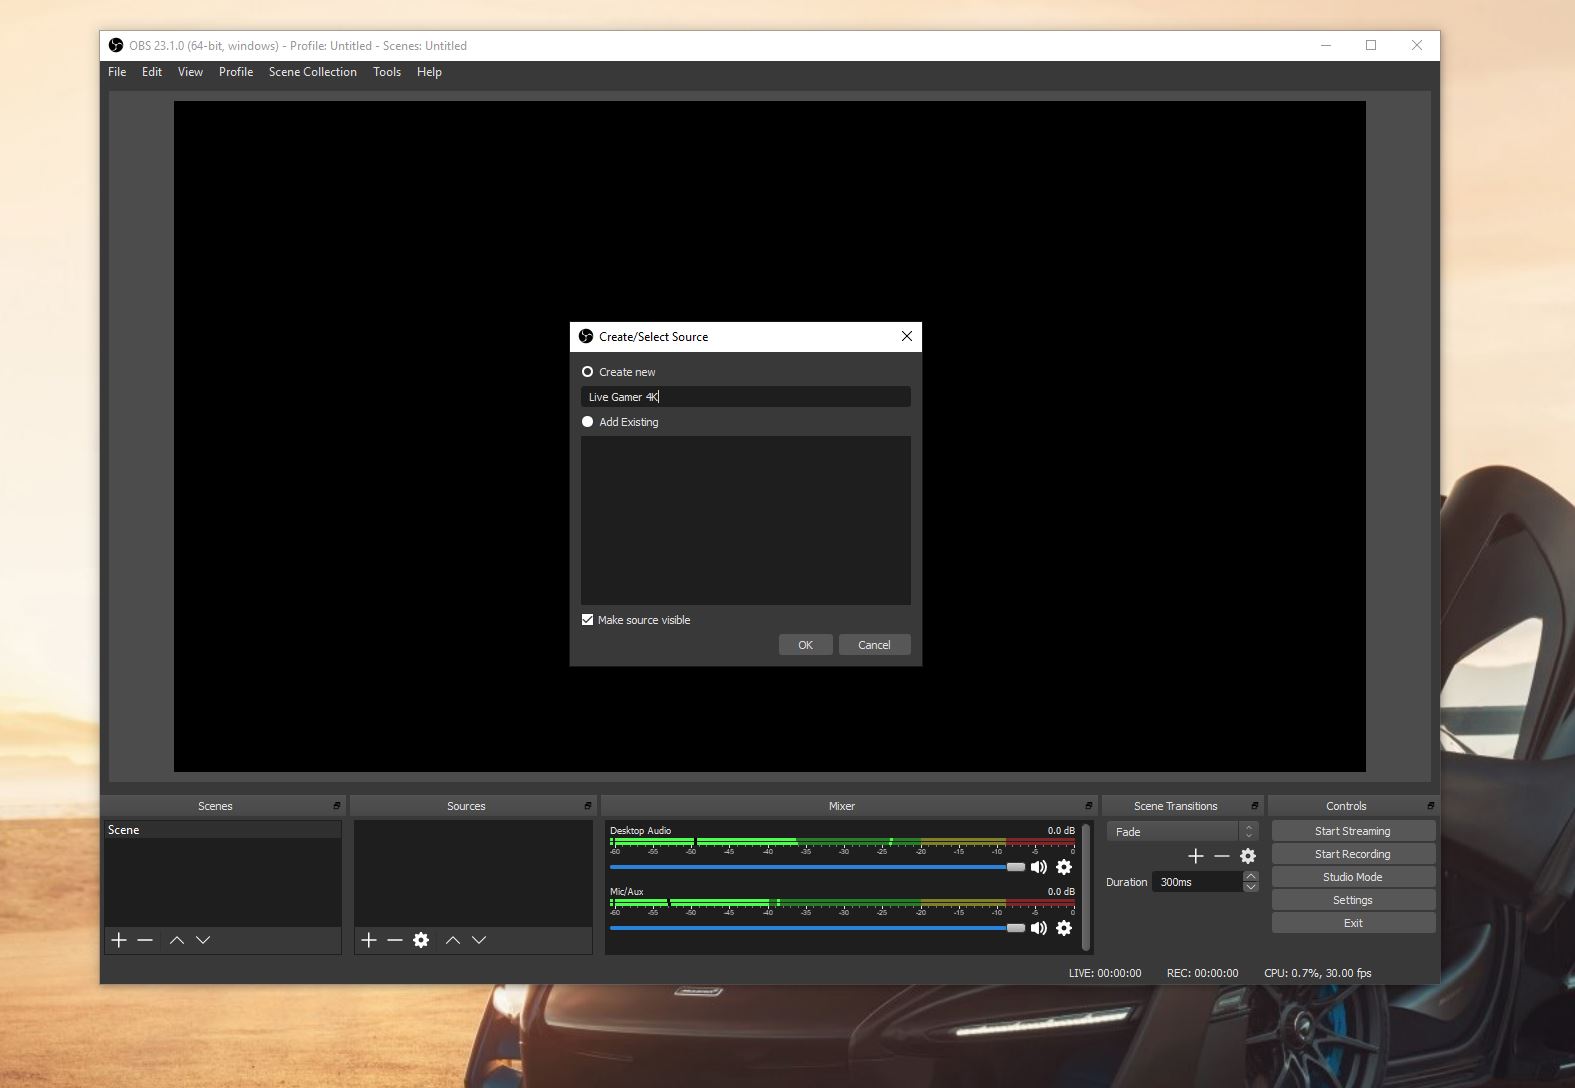
- Click OK.
-
Choose your capture card or webcam from the device drop-down box.
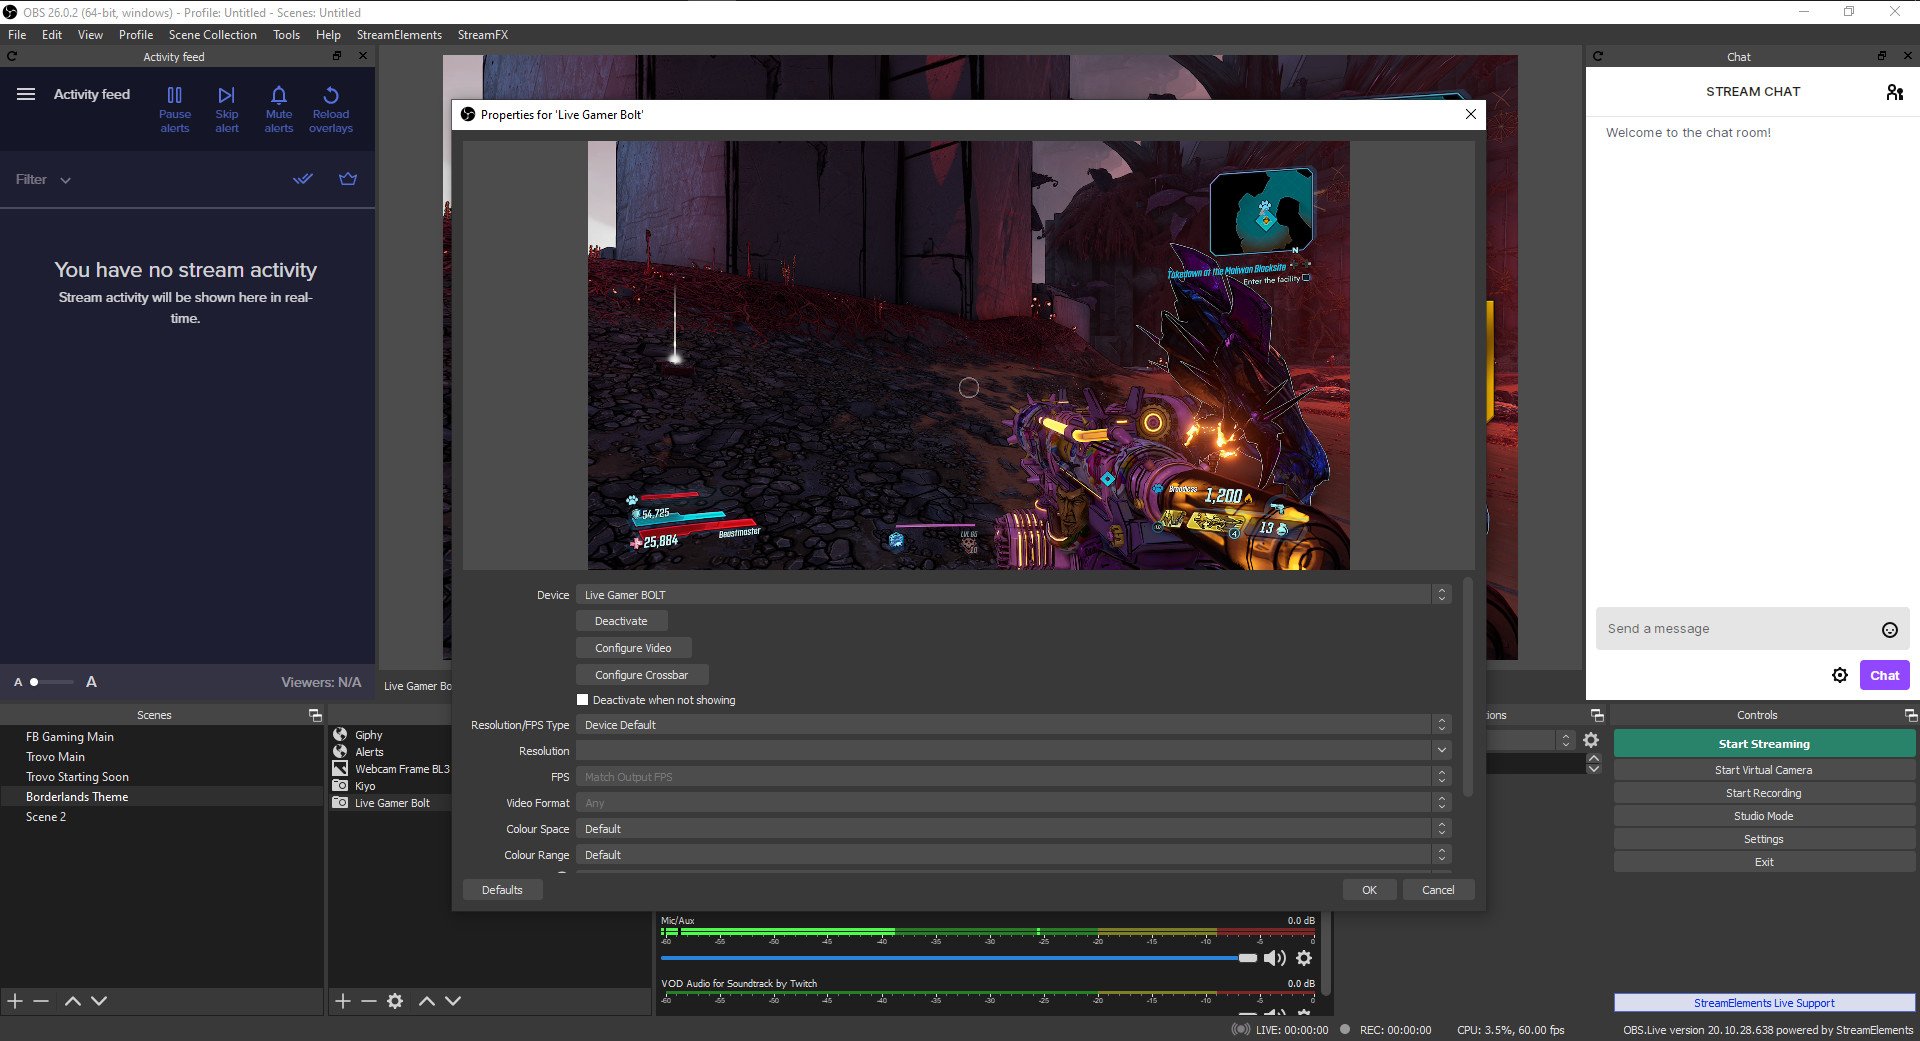
In this window, you'll also be able to adjust some video settings such as resolution and frame rate. In the case of the capture card, you'll want to keep it at whatever the highest you can get from the console is (1080p60 in almost all cases), but your webcam definitely doesn't need to be 1080p.
When it's a tiny little window on your stream, you're wasting processing power and bandwidth this way. Drop it to something like 640x480 or 720p, and it'll still look fine on stream.
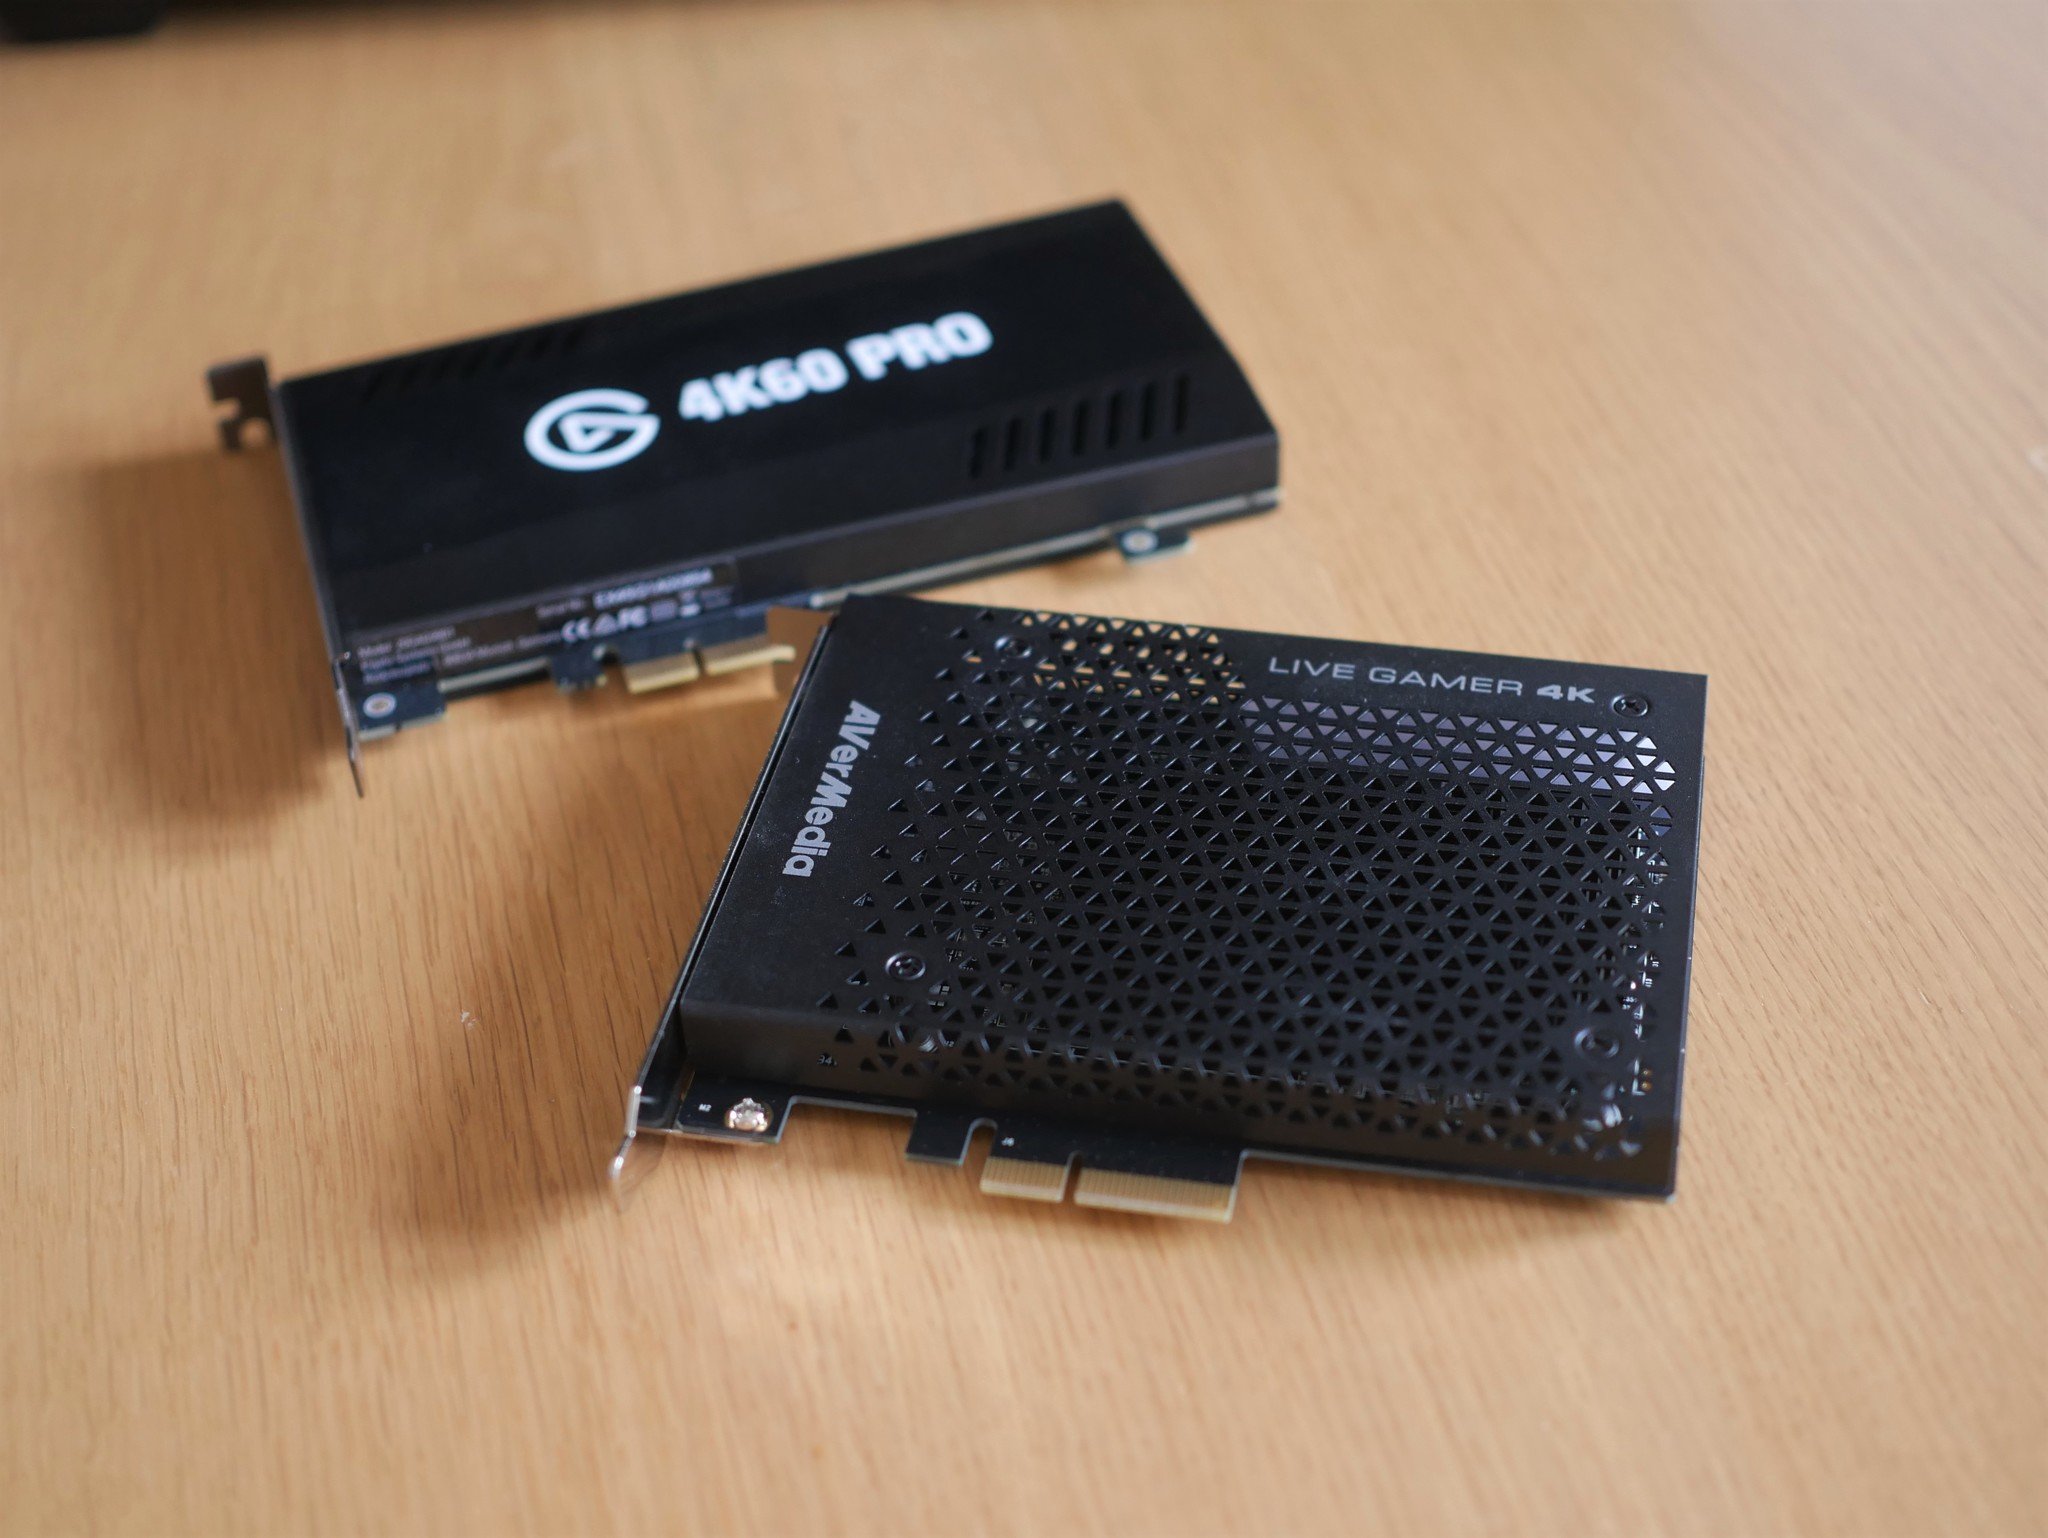
Avermedia Live Gamer 4K
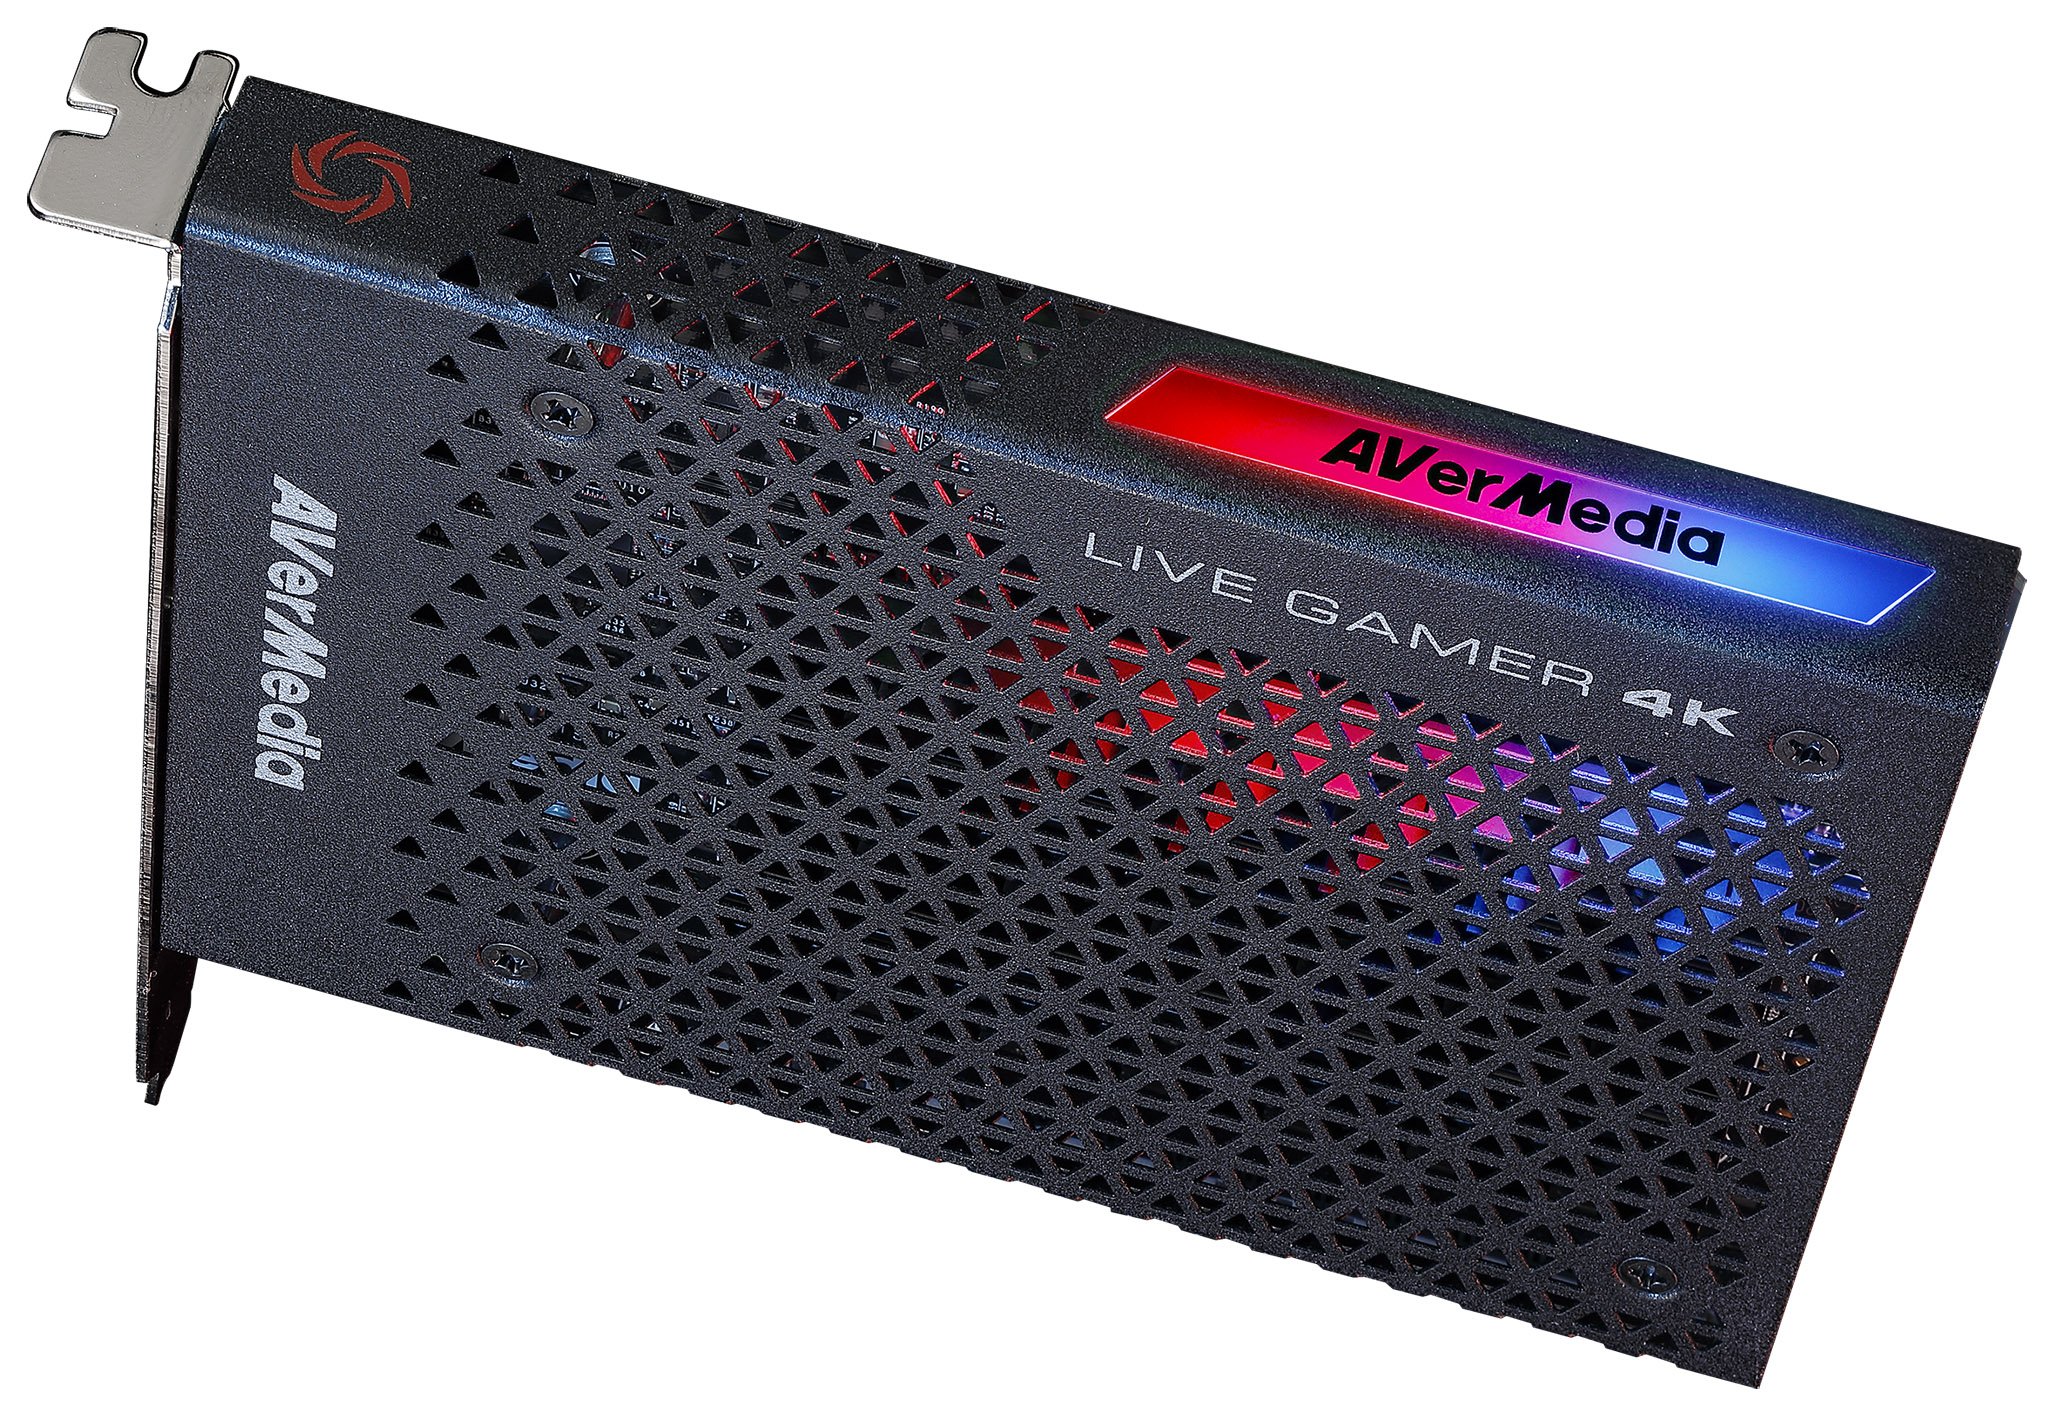
The Avermedia Live Gamer 4K is the top dog right now for consumer-grade capture cards. Not only will it capture 4K video at up to 60 frames per second (FPS), but HDR, too, as well as 1440p at 120 FPS and 1080p at a whopping 240 FPS.
Logitech C920S
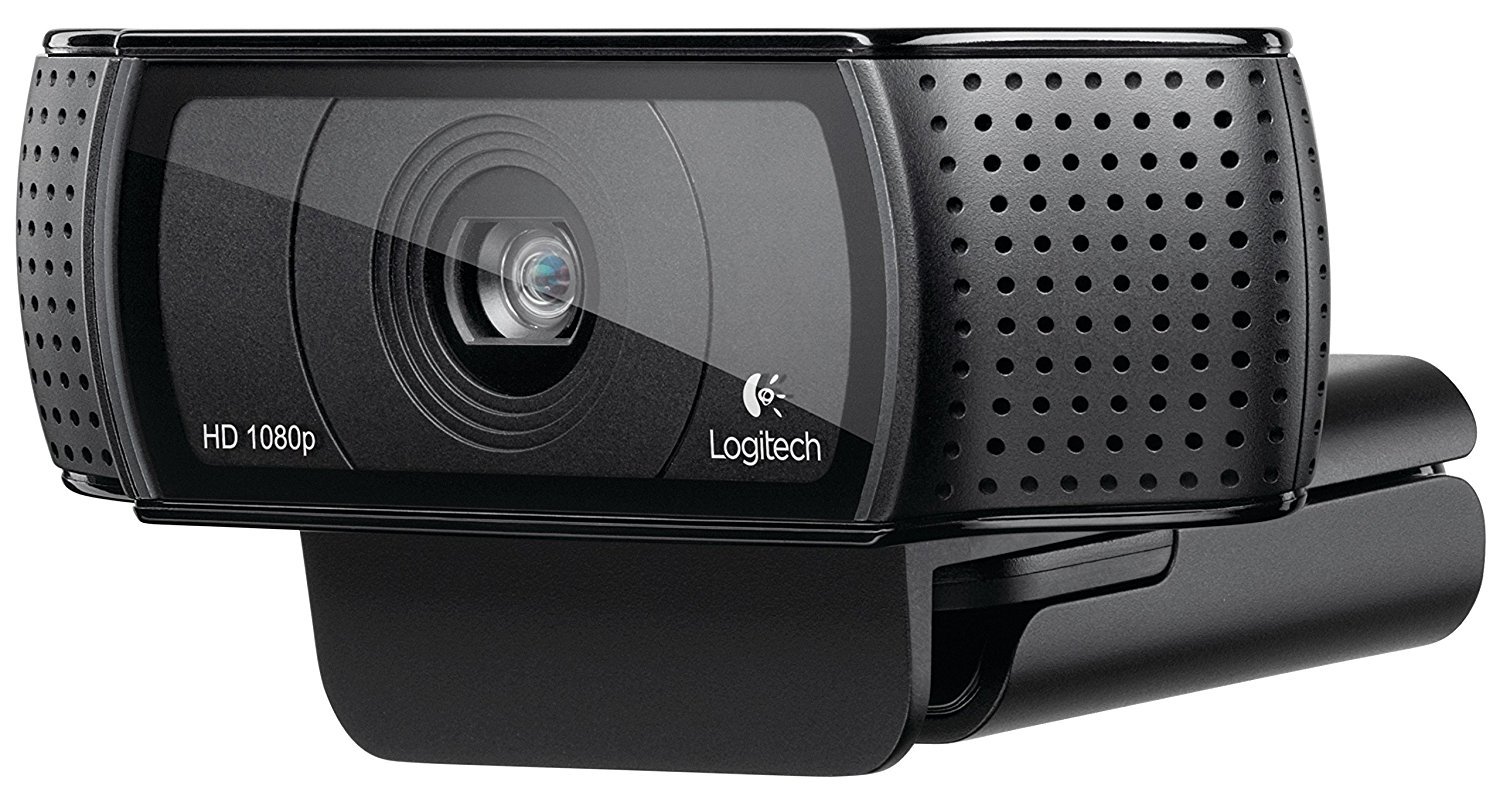
The Logitech C920 is an excellent webcam for streaming with thanks to its 1080p video and high-quality image. It's also very affordable.
How to add PC game capture to OBS
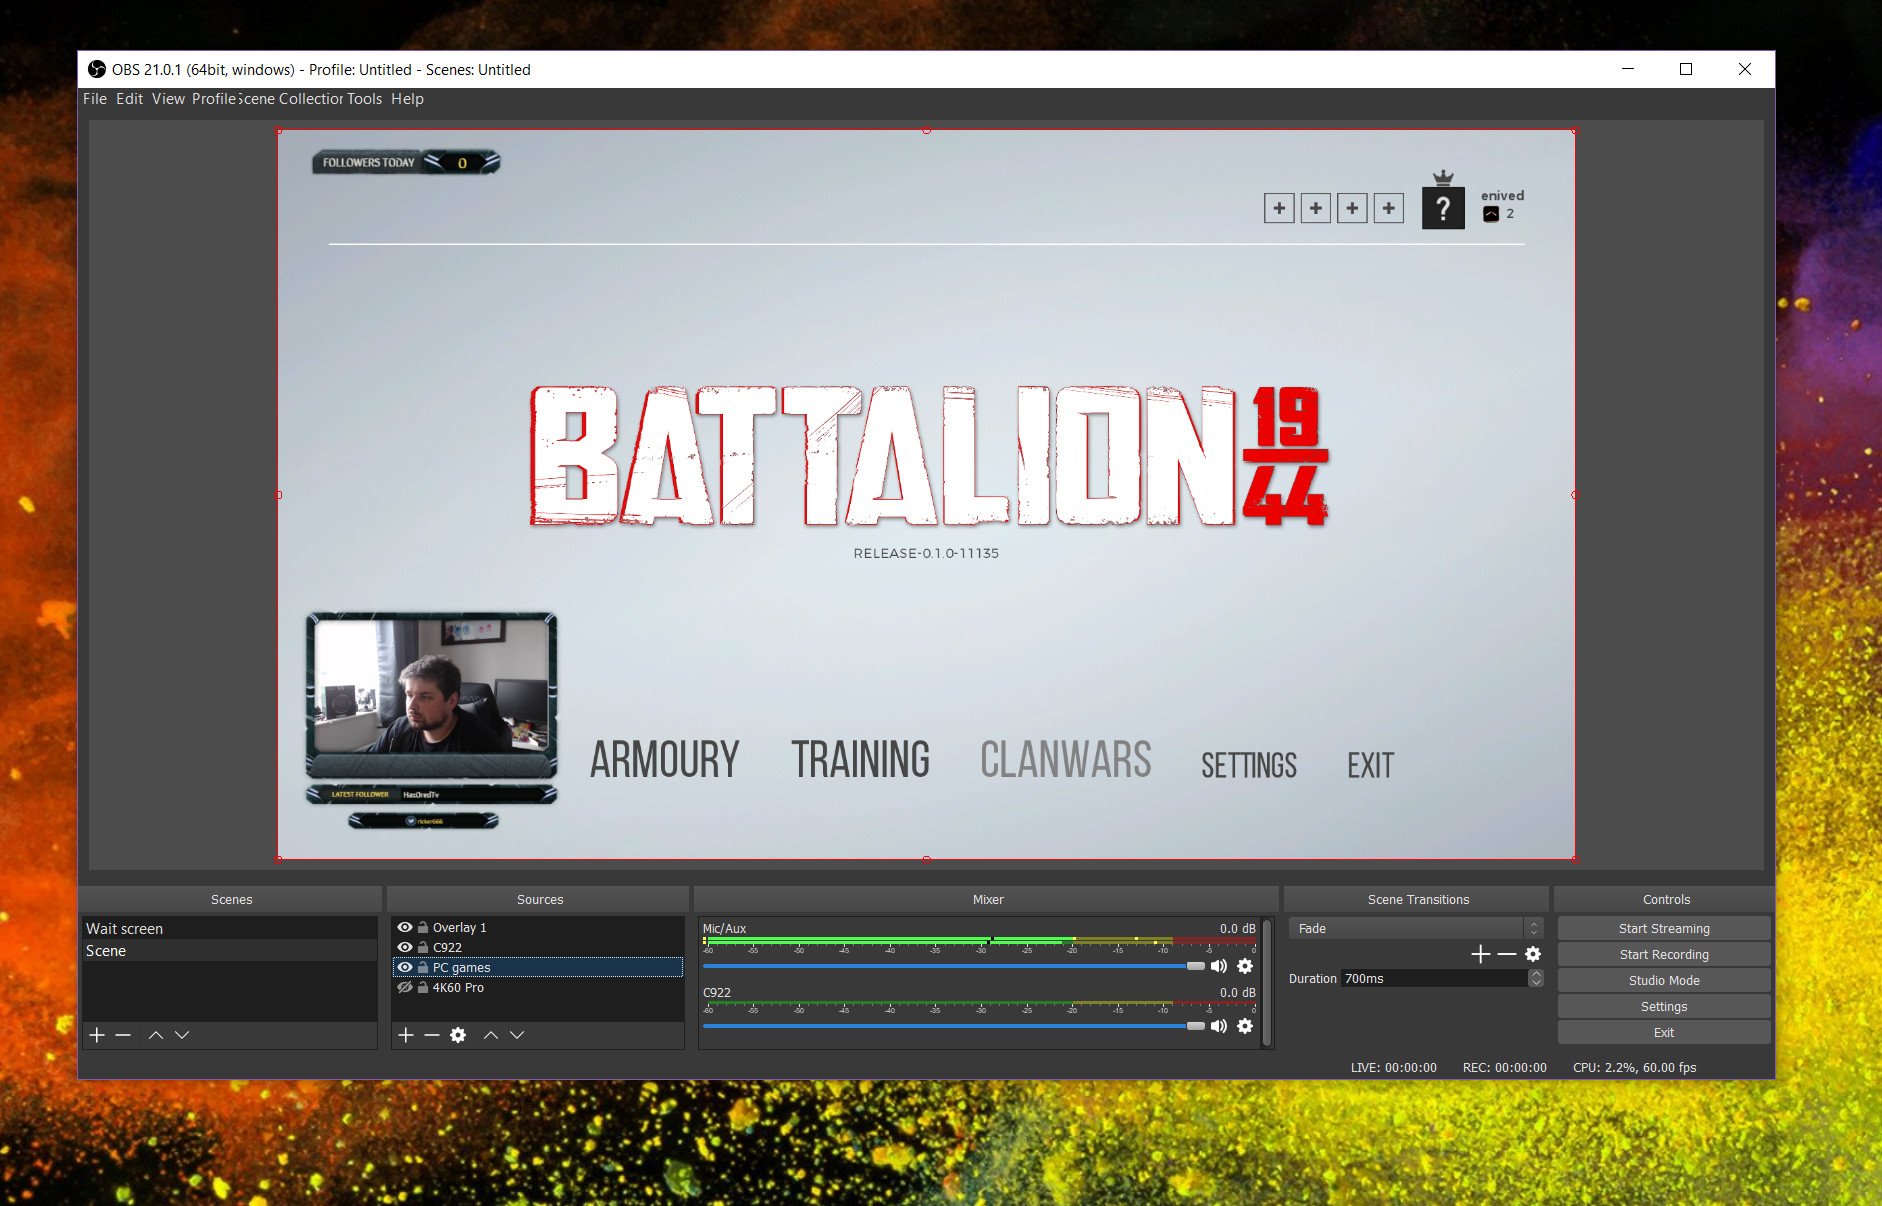
If you're going to be streaming PC games, then OBS can automatically detect these and import them for use. Set it up similarly to other sources.
- Click the + button in the sources box in the main window.
- Select game capture.

You now have a couple of options. If you always play your PC games in fullscreen, you can set OBS to capture any fullscreen application in the mode drop-down box.
If you play windowed, you can manually choose the game by changing the mode to capture specific window and then select the game from the windows drop-down box.
How to add a stream overlay to OBS

One last thing you might want to add right from the start is an overlay to your stream. I've previously written about excellent services like Player.me and Streamlabs, which help you create professional-looking overlays with minimal effort on your part.
Besides making your stream look more professional, overlays can add essential alerts such as new followers and subscribers, social media links, goals, and much more. Whichever service you use to create one, adding to OBS is the same every time. You'll get a unique URL for your overlay, copy this and follow these steps.
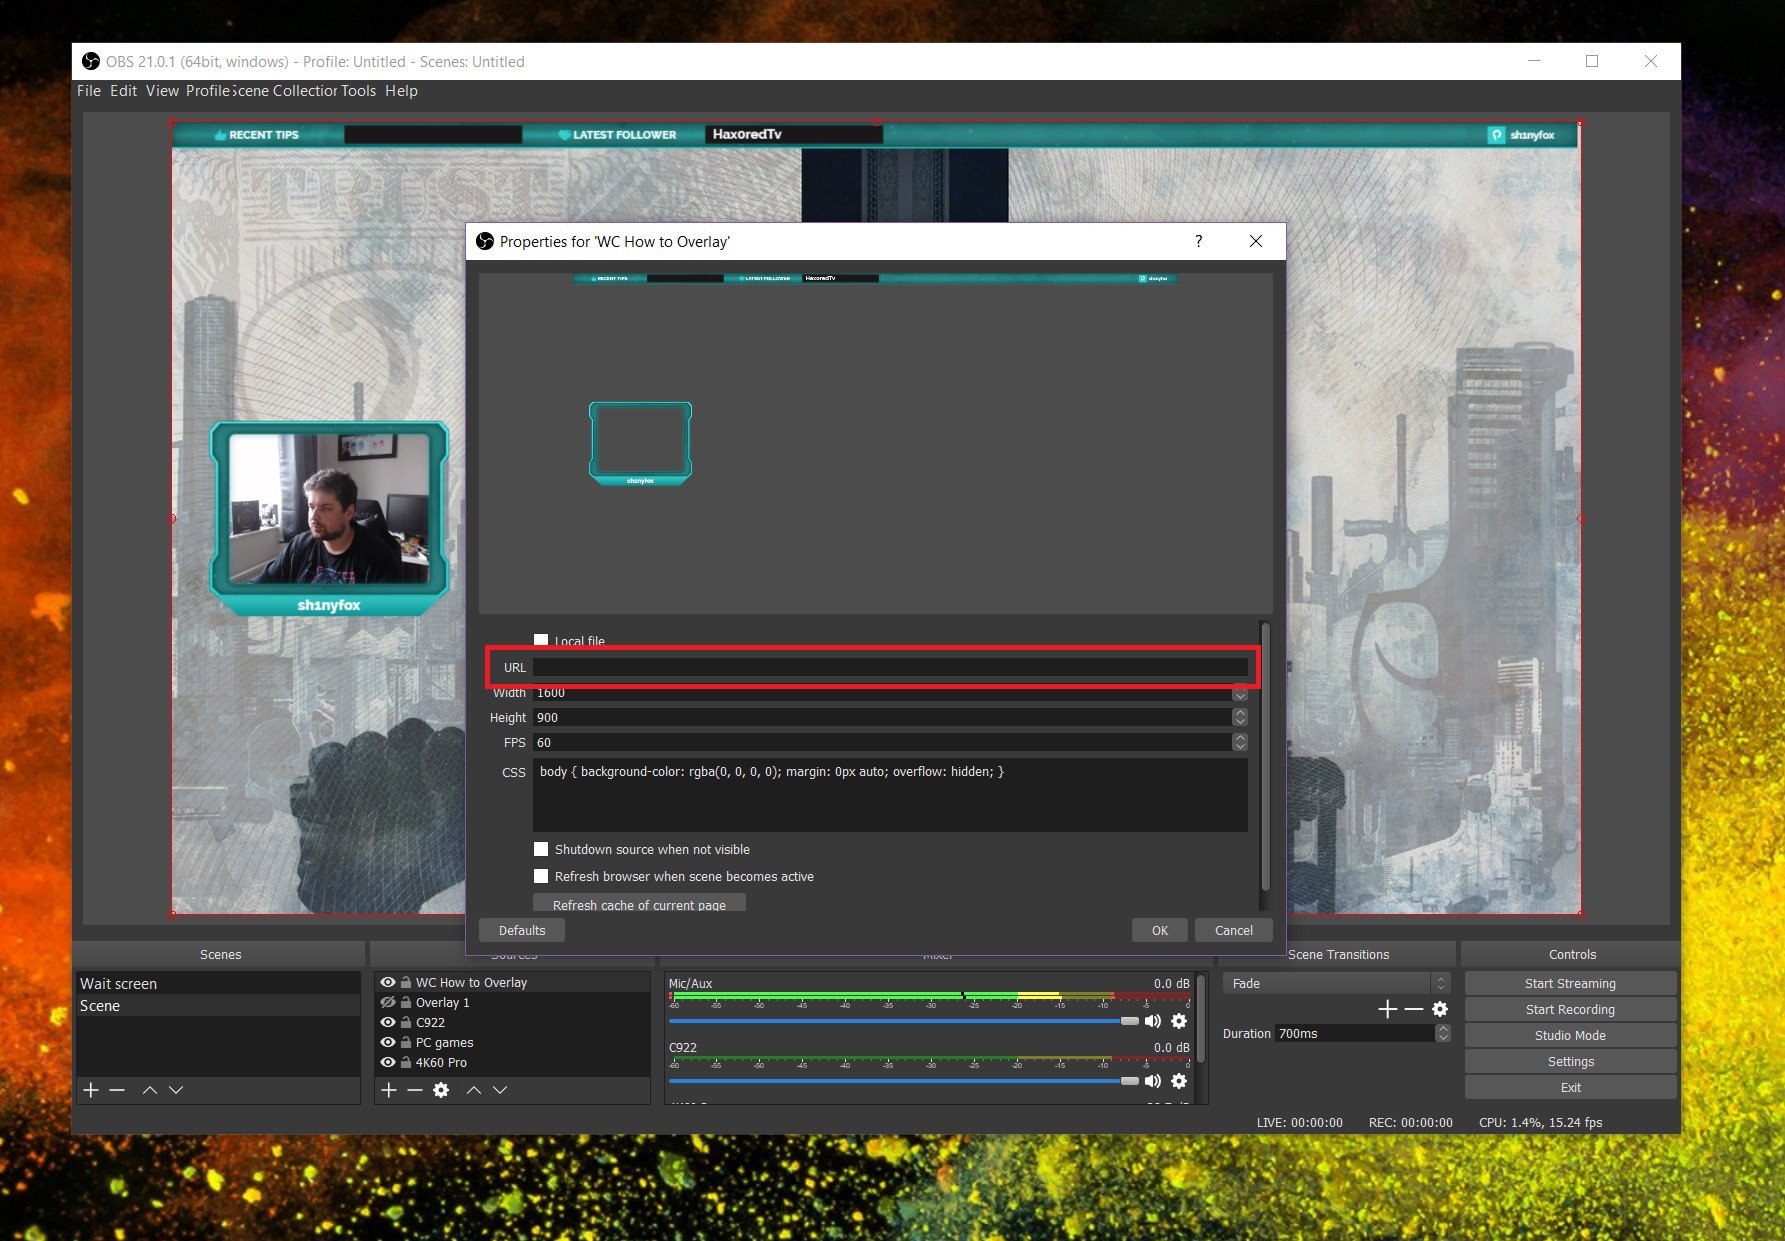
- Click the + button in the sources box in the main window.
- Select browsersource.
- Name it (if you wish), so it's easier to identify in your sources list.
- Paste your stream overlay URL in the URL box.
- Change the width, height, and frame rate to match your output resolution and frame rate.
Your overlay will now appear before your very eyes. Make sure you move it towards the top of your sources list to ensure it pastes itself over the top of the other items in your stream.
via https://AiUpNow.com December 4, 2020 at 12:45PM by Richard Devine, Khareem Sudlow,
